A masonry fire pit is a built structure, not a purchase. A steel bowl from the hardware store goes wherever it is set down and moves when the patio furniture does. A stone or block fire pit gets a footing, a liner, and a cap, and it stays where it was built for decades. That permanence is the appeal, and it is why the planning matters. The homeowners who end up happiest with a built fire pit are usually the ones who worked through siting, local burn rules, and materials before the first stone was laid.
What a Permanent Installation Changes
Kit fire pits and built masonry fire pits solve different problems. A kit is inexpensive, movable, and disposable: when the steel rusts through after a few seasons of New England weather, it goes to the curb. A masonry fire pit is a small construction project with a foundation, and that changes almost everything about how it gets planned.
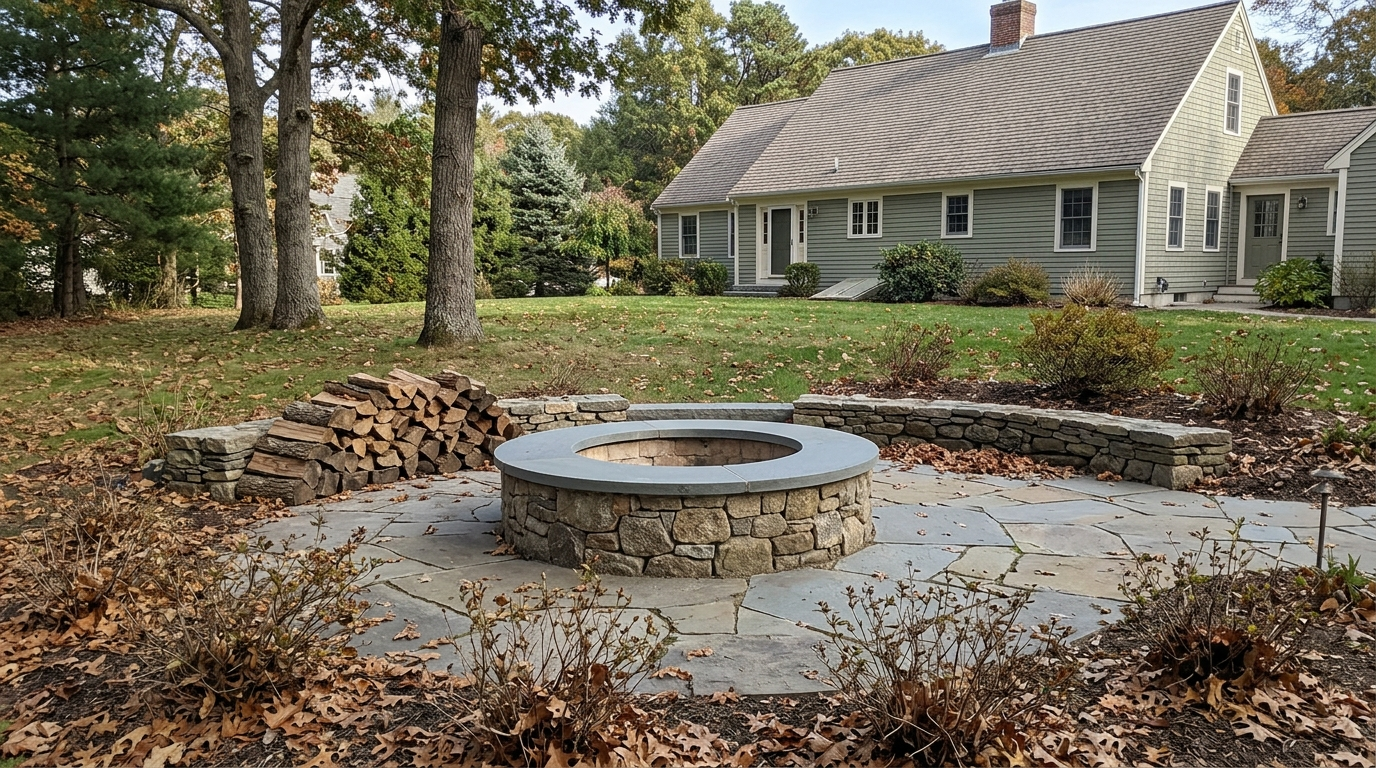
Because the pit cannot move, its location is a one-time decision. Because it is built from stone or block, it can be shaped to the space: round, square, cut into a slope, or matched to an existing patio and the stone already on the property. Because it sits on a proper base, it stays level through frost seasons that heave lighter structures. And because it is a permanent improvement rather than an appliance, it tends to anchor how the rest of the yard gets used, which is why fire pits are so often built together with a patio or seating wall.
The tradeoff is commitment. A built fire pit costs more, takes longer to arrive, and rewards decisions made carefully up front.

Siting: What to Check Before Anything Is Built
Location decides most of what a fire pit becomes, and four factors decide the location.
Local rules come first, because they can change the whole design. Massachusetts towns regulate open burning and outdoor fires individually: some allow wood-burning recreational fires with fire department permission, some restrict them, and some effectively steer homeowners toward gas-fired appliances. Setback requirements, minimum distances from structures and property lines, vary by town as well. A call to the local fire department before design work starts settles what is allowed, and it occasionally turns a wood-burning plan into a gas one. That is a design change, not a project killer, but it is far cheaper to learn before the liner is chosen.
Distance and surroundings come next. A fire pit needs clearance from the house, decks, fences, sheds, and anything overhead, including tree limbs that seem high enough until the first tall flame. Beyond the legal minimums, practical spacing matters: room for chairs on all sides, and a surface around the pit that will not burn or stain.
Wind is the factor most people skip. New England sites usually have a prevailing wind direction, and smoke follows it. A pit placed upwind of the seating area, the back door, or a neighbor’s windows gets used less every year. Watching how wind moves through the yard for a few evenings before committing is worth it.
Grade rounds out the list. Fire pits want level ground with drainage away from the pit. A sloped yard does not rule one out, but it means cutting a terrace or building the pit into a retaining wall, which changes the scope and the budget.
Materials That Survive Fire and Freeze-Thaw
A fire pit in this climate has to survive two kinds of abuse: direct flame on the inside and freeze-thaw cycling on the outside. Different materials handle each job, which is why a well-built pit is layered rather than made of one thing.
The inner liner takes the heat, and firebrick is the standard answer. Firebrick (refractory brick) is fired to withstand direct flame and repeated heating without cracking, and it is set with refractory mortar rated for the same conditions. Ordinary brick, fieldstone, and concrete block are not made for direct flame; used as a liner, they can crack or spall as trapped moisture expands with heat. A steel insert ring can serve alongside or in place of firebrick, protecting the masonry behind it.
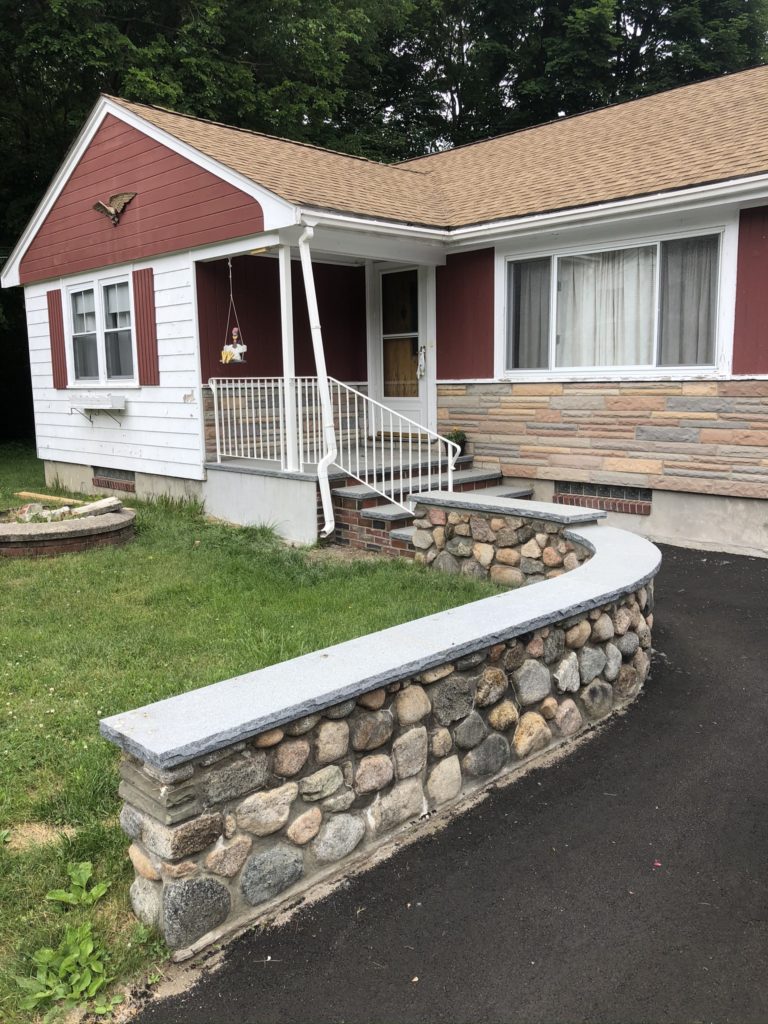
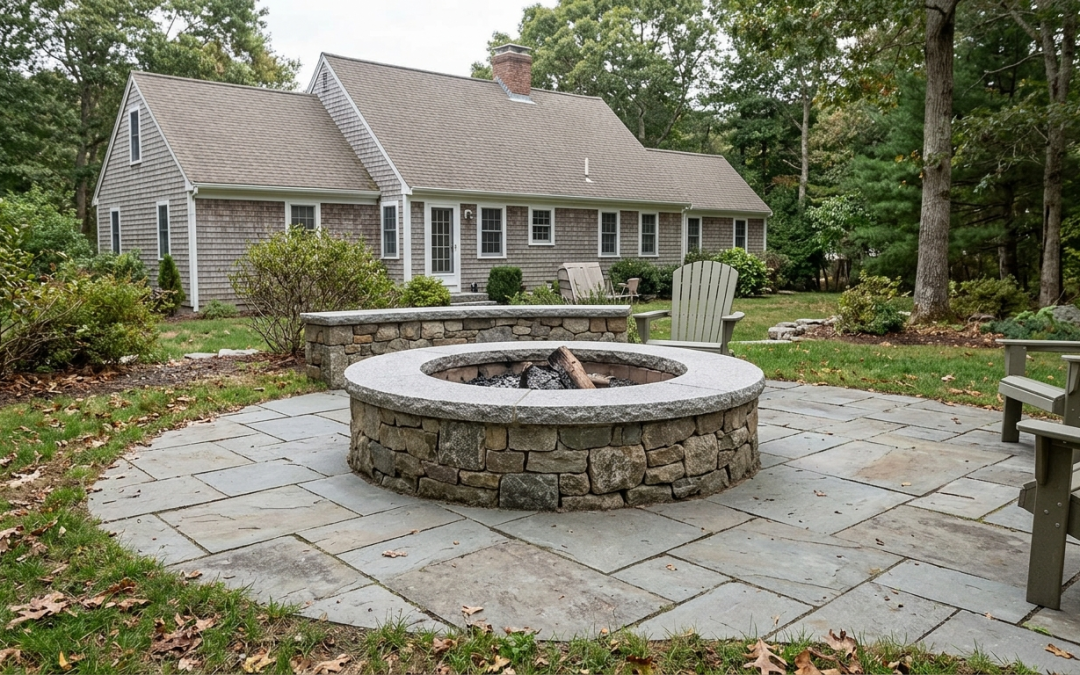
The structure behind the liner is usually concrete block or mortared stone, which carries the shape and the weight. The visible face is where the design lives: natural fieldstone or granite for a traditional New England look, cut stone for a more formal one, or manufactured veneer where budget leads. Outdoor masonry fire pits built this way match the stone walls and steps already common on properties here.
The cap matters more than its size suggests. A stone cap sheds water away from the core, and water kept out of the masonry is what wins the freeze-thaw fight. Caps also give the pit its finished edge and a place to rest a drink.
The Build, From Footing to Cap
A masonry fire pit build follows the same logic as any small masonry structure: get the base right, then work up.
The site is excavated and a base goes in first, typically compacted gravel, often with a concrete footing or slab on top depending on the design and soil. This is the step that decides whether the pit is still level in ten years. Frost moves ground in Massachusetts every winter, and a properly prepared base is what keeps that movement from opening joints or tipping the structure.
The core is laid next: block or stone brought up to height, with the firebrick liner set inside it in refractory mortar. If the design is gas-fired, the burner, gas line, and ventilation details go in at this stage. The veneer follows, tying the pit visually to the property, and the cap stones close the top.
Timelines are shorter than most homeowners expect. Once materials are on hand, a standalone fire pit is commonly a matter of days on site. Adding a surrounding patio or seating wall extends the schedule with the scope, since those are their own builds. Weather can stretch any of it: mortar needs workable temperatures to cure properly, which is part of why the season you build in matters.
What Drives Cost
Fire pit pricing varies enough that a single number would mislead, but the drivers are consistent, and knowing them makes estimates easy to compare.
Size and shape set the baseline: more masonry is more material and more labor. Material choice moves the number substantially, with full natural stone at the top and manufactured veneer over block in the middle range. Wood versus gas changes the inside of the project: gas adds a burner, a line, and often a plumber’s work, while wood keeps the pit simpler. Site conditions add or subtract: easy access for materials and equipment keeps labor down, while a sloped site, a long carry, or poor soil adds prep work. And scope is the quiet multiplier, because the pit that was going to stand alone often grows a patio and a seating wall once the design conversation starts.
The pattern worth knowing: a built masonry fire pit costs several times what a kit does, and homeowners who plan the surrounding hardscape at the same time, even if it gets built in phases, typically end up with a more coherent result than those who bolt it on later.
Why Fall Is a Good Time to Build
Fire pit demand peaks in spring and early summer, which is exactly when masonry schedules are fullest. Fall works in the homeowner’s favor. Shoulder-season temperatures are still comfortably within the range mortar needs to cure, crews have more room in the calendar than they did in June, and a pit finished in September or October is ready for the best fire pit weather of the year: crisp evenings, no mosquitoes, and a reason to be outside past dark.
Planning in late summer for a fall build also leaves time for the siting homework, the fire department call, the wind watching, and the material selection, without rushing any of it.
If a fire pit is on the list for this fall, the practical next step is a design consultation: a look at the yard, the grade, and the options, followed by an estimate that prices the design you actually want. Request a fire pit design consultation and estimate, and have the pit burning by the time the leaves turn.